
Inside: Simple Boxwood Wreath DIY perfect for any occasion + Ideas
My favorite thing about wreaths is their versatility. I have said this before, but wreaths can be made for any occasion that suits you best. They can even just be left up all year. I only learned about this last year. Up until that point, I was under the impression that they were just for Christmas.
So today, I thought we should go over one of the most iconic wreath types out there and a tutorial on how to make one yourself. Introducing the boxwood wreath!

I have compiled the cutest boxwood wreaths that I would find on the internet to look through. These will give you some creative ideas to include in your Boxwood wreath DIY that we get into at the end of this article. So what are we waiting for? Let’s get into this!
Table of Contents
Simple Boxwood Wreath DIY Ideas
Like I said above, we cannot begin our DIY until we have some creative inspiration! That is where these come in. If you don’t like to craft, don’t worry…I am not judging you. This whole list is made up of wreaths that you can buy. So take a look through these and keep an eye out for ideas that you love.
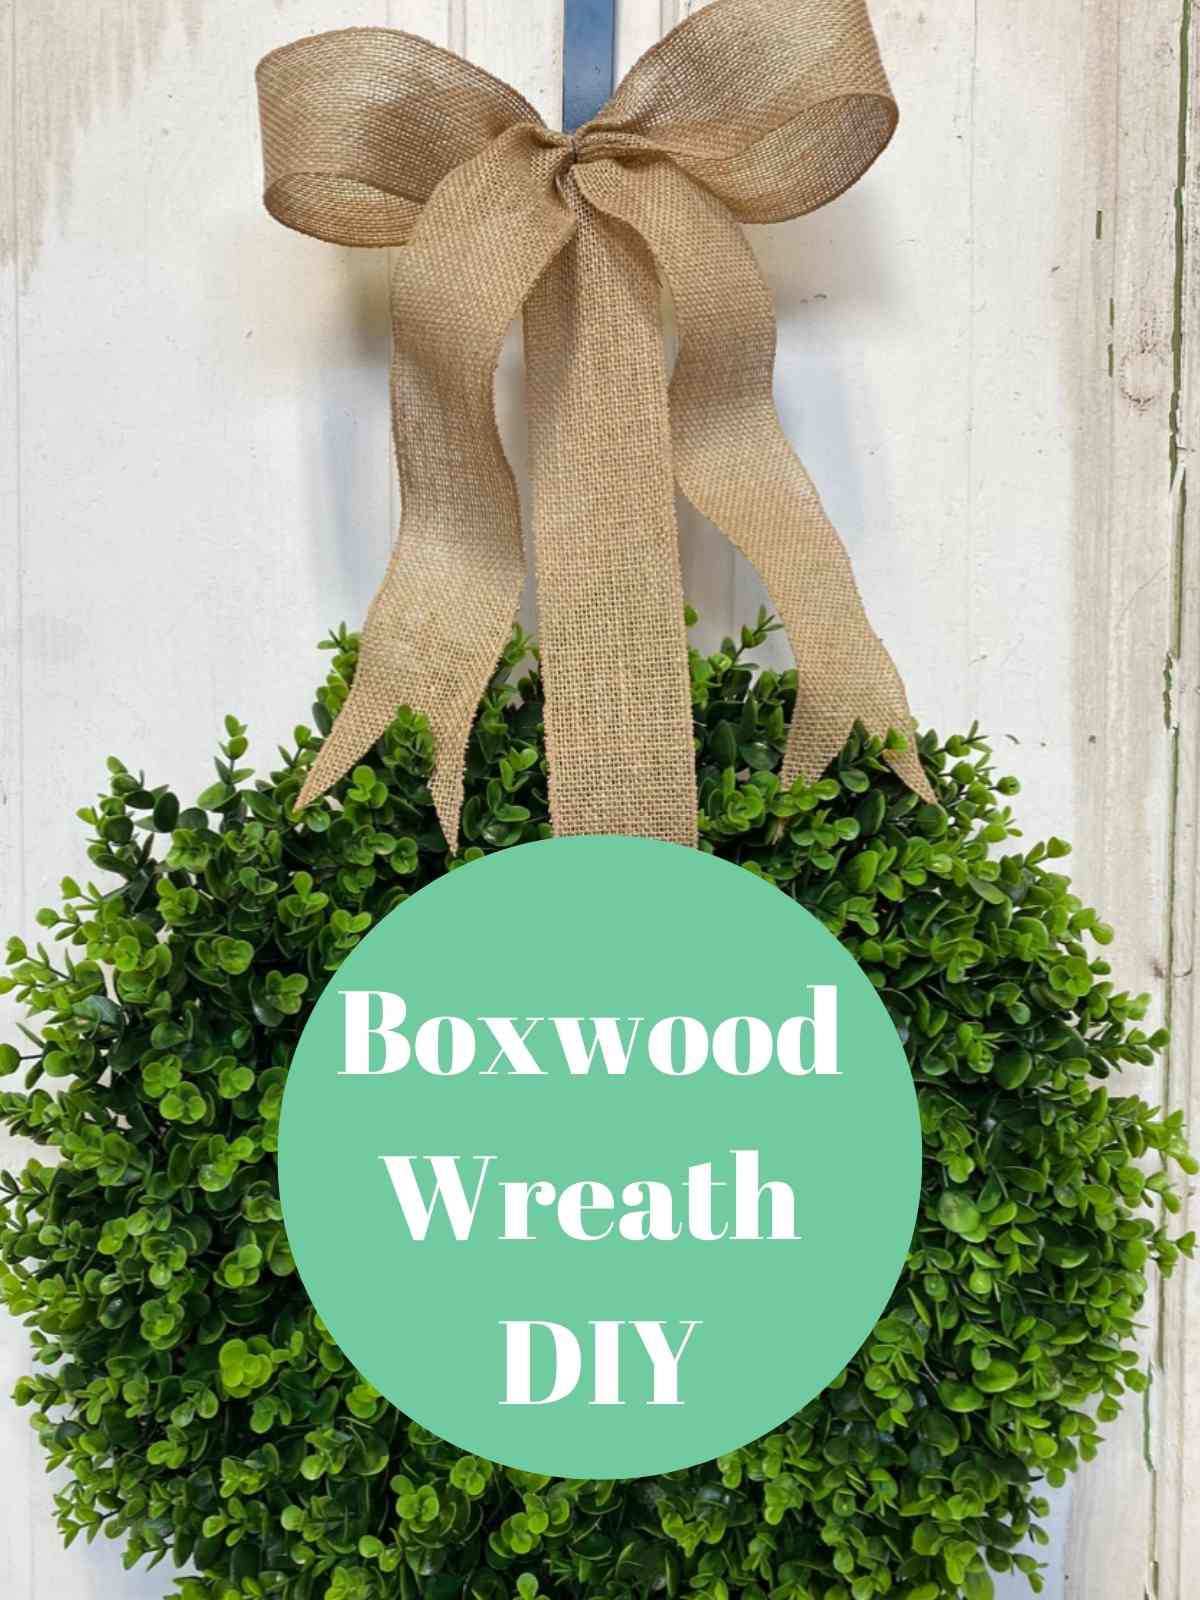
4. Boxwood Idea with Single Ribbon
9. Square Boxwood Idea with RIbbon

Cool Boxwood Wreath Designs
This last list is full of ideas that are a little out of the box. That line is kind of ironic, considering the first idea on this list is literally a square boxwood wreath. Take a look at these to see how many cool options you have for your wreath. You might be surprised by how much cuter your wreath will be if you add a few little fruits to the mix. See what I mean below!
11. Square Wreath with Monogram M
16. Grapevine Wreath with Boxwood and Florals
18. Farmhouse Boxwood with Eucalyptus
21. Adorable Faux Boxwood Idea
Now that you have gotten a good idea of what you can create with a boxwood wreath, I think it is about time we got into the DIY portion of the article. Personally, this is my favorite part, so I am eager to jump in.
Easy Boxwood Wreath DIY
I made one of these wreaths yesterday, so I am going to walk you through my process. Keep in mind that this will be a very baseline boxwood wreath DIY. I wanted to show you the foundation, that way; you can build upon it however you like.
Make sure that you look through the list of supplies and stock up on everything you need before starting this tutorial. You can find everything you’ll need online or at your nearest craft store. Considering my nearest craft store is over an hour away, I opted for online.
Supplies You’ll Need
Now that you have everything you will need, the fun can begin. I like to lay out all of my supplies so I can double-check that I have everything. This also helps you to know where everything is at when you need it.
Step One
Step one will always be creating your base. Regardless of what wreath we are making, that is where we start. To do this, take your Boxwood garland and uncoil it.
Choose your starting point in your wreath form and weave the boxwood through it. You can make a little twisted knot to make sure that it is secure. The way you weave is up to you. You can do a lattice weave like a basket or just simply go back and forth until the wire is covered.
Step Two
Now you are going to want to continue this layering process all the way around your wreath form until your wreath is full. It is important that you make sure there are no gaps.
If you like, you can go over your wreath in layers until you get the fullness you desire. If your first layer looks good and has no thin spots then you can stop there. I ended up doing 3 layers, I like my wreaths to be thicker. Especially when working with fake plants, I feel the thick they look, the more real the result is. So do whatever feels right to you.

Step Three
Take a step back, and I mean literally. Look at your wreath from a bit further away to see if there are any uneven spots that you want to work on. This is the time to do so. It is very normal for there to be uneven spots; you are working with an uneven material! Just take some time to fix it up, and your end result will thank you.
Step Four
Now comes the fun part, decoration! You can add whatever decoration you like. For mine, I added Lemons for a pop of color, along with a burlap bow. For the sake of this simple tutorial, I will let you pick your decoration and just focus on the bow.
Tying a bow is a lot like tying your shoes. I know that sounds funny, but it is the truth. To start, measure out your ribbon. Mine was a little over one foot in length. A good rule of thumb is that you can always cut away the excess when you are done, but you cannot add more to it. So go longer to be safe.
Lay your ribbon on the ground and set your wreath on top of it. We will not be wrapping it around the whole wreath, just the top. If you wish to wrap it around the entirety of your wreath, you will need your ribbon to be much longer than one foot.
Now you make a simple loose knot with both ends of the ribbon. Make those into little loops when you are finished, and then repeat this simple knot again, but this time do it twice. After you are done with your double knot, take a moment to straighten it out. The ribbon always gets crumpled and crooked during the bowing process.
That’s it; your wreath is done!
Boxwood Wreath DIY: Conclusion
So…are you happy with your new Boxwood wreath? I sure am. I hung mine on my front door. It’s a great conversation piece whenever new guests arrive at my house. I get to say, “oh, that? Yeah…I made it.”
There are so many more wreath Ideas out there that I know that you will love. We have covered many of them here, so you will have to take a look.
You can make wreaths for any occasion, so why not have one at the ready for EVERY occasion? That’s what I do.