
Inside: Rag wreath ideas that are eco-friendly and adorable
As a crafter, I have a whole room of random material that I have from past projects just waiting for me to use them. Sometimes, when I am bored, I walk in there and sit until I can think of something to do with them.
Last week I tried something new, and I fell in love. I had a whole bin of extra fabric scraps that I had no idea what I was going to do with. I also had some extra wreath forms from past projects. I looked at them both, and a lightbulb turned on in my head. What if I made a wreath out of rags?
I looked it up, and it was a thing! A super cool thing might I add. So I created one, and boy, did I fall in love with it. So today, I wanted to walk you through how I made it. But first, I thought I’d better give you some ideas on what yours can look like!
Table of Contents
Rag Wreath Ideas
Below you will find some of the cutest rag wreaths that live on the internet. Now, if you are planning on making this DIY yourself and you don’t have a random pile of rags, don’t worry. You can still create an eco-friendly craft. Just get your fabric from your local thrift store!
1. Beige and Blue Heart Wreath
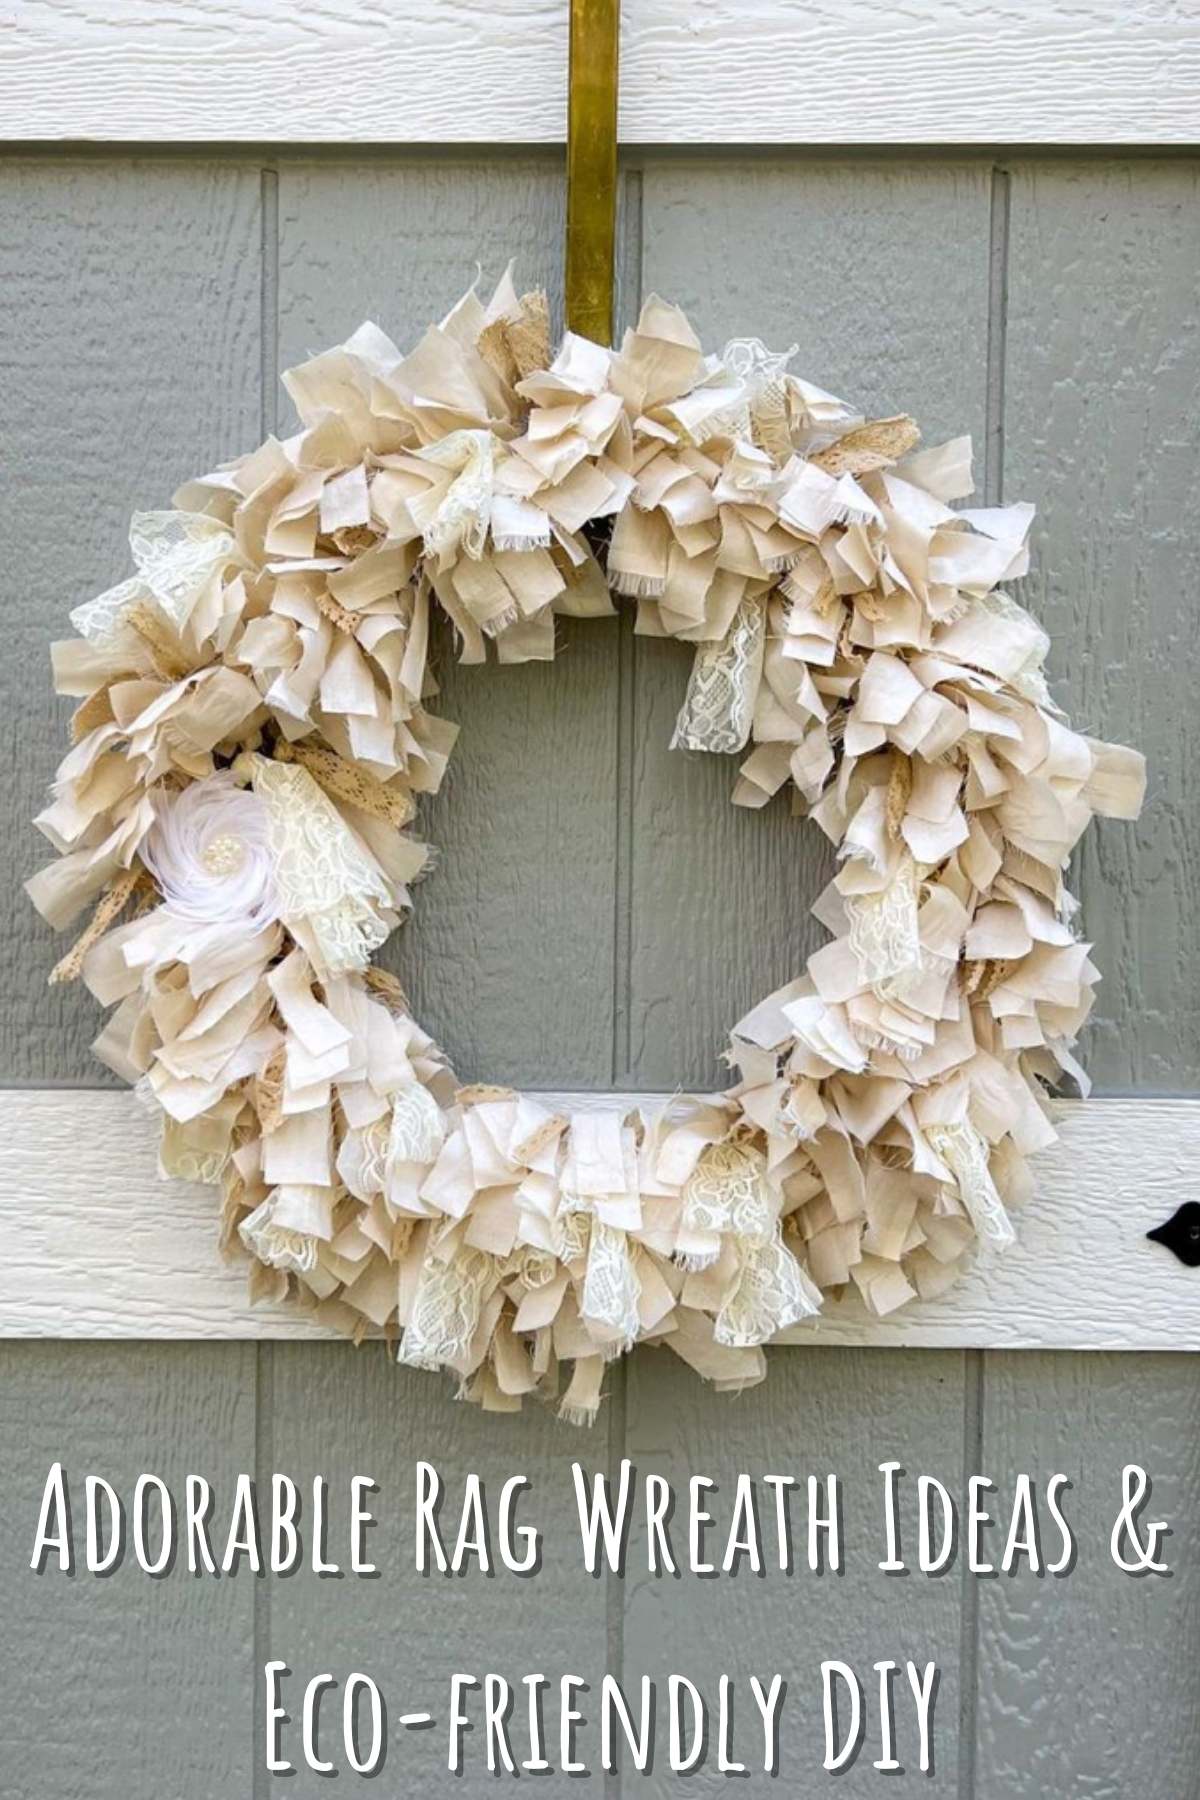
2. Burnt orange Ripped Rag – This is the color of a wreath that I ended up with, and I couldn’t be happier with the end result. Check this one out!
4. Light Pink Heart Idea – I love the light pink heart wreath idea because you can put it out for your anniversary or for Valentine’s Day!
7. Burlap Brown Rag Idea – Burlap is such a lovely color and texture. It adds a warmth to your home that I think you will really enjoy. You need to see this yourself.
8. Creme Rag Wreath with Roses
10. Cream Ribbon with Red Flowers – This is a very sweet idea that I think anyone will enjoy. They use cream ribbon that has little flowers on it. They tied it around a very simple hoop, making it look chic and adorable.
11. Ribbon with Sparkles in White
12. Green and Purple Wreath Ideas
13. Red Rose Idea – I love this because they used felt rags and made little flowers to look like red roses. Very cute, and very creative!
14. Wreath with Ribbons and Patterns

Unique Rag Wreath Designs
If you were hoping for a design with a little more personal style, then you are going to love this list. There is only so much you can do with a rag wreath, but these really push the mark. Take a look to see if any of these are up your alley. At the very least, you will get some inspiration!
16. Multiple Patterned Idea – You don’t need to just have one pattern, you really can use whatever kind of rags you can find, and you can use them to create a masterpiece.
17. Orange and Red Wreath Idea
18. Rust and Blue Ribbon Wreath – I think the best ideas come when you use what you have at your disposal. So just do the best you can, and you will be grand.
19. Polkadotted Wreath Idea – I love polka dots, and if you do as well, then I know you are going to love this polka-dotted wreath idea.
24. Tan Wreath with Pumpkins – How cute is this idea? It has pumpkins!
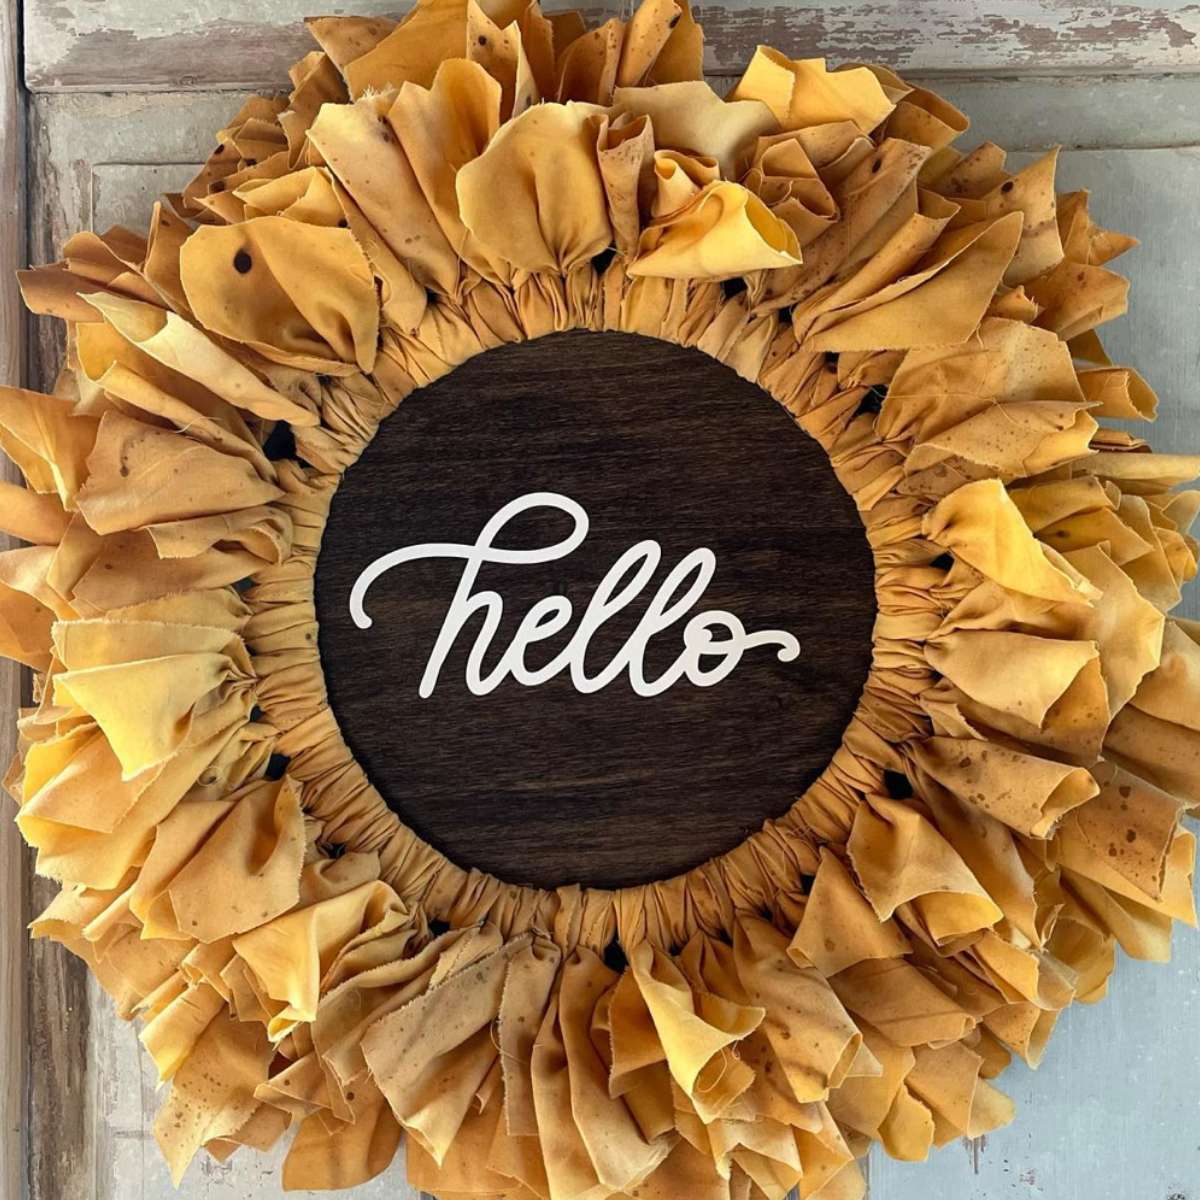
25. Hello Wreath with Light Pink Wreath
26. Red and White Wreath – I think this wreath has a romantic feel. Don’t you?
30. Floral Wreath In Flower Shape – This one is so adorable! It’s in the shape of a flower!
31. Springtime Rag Wreath with Bow
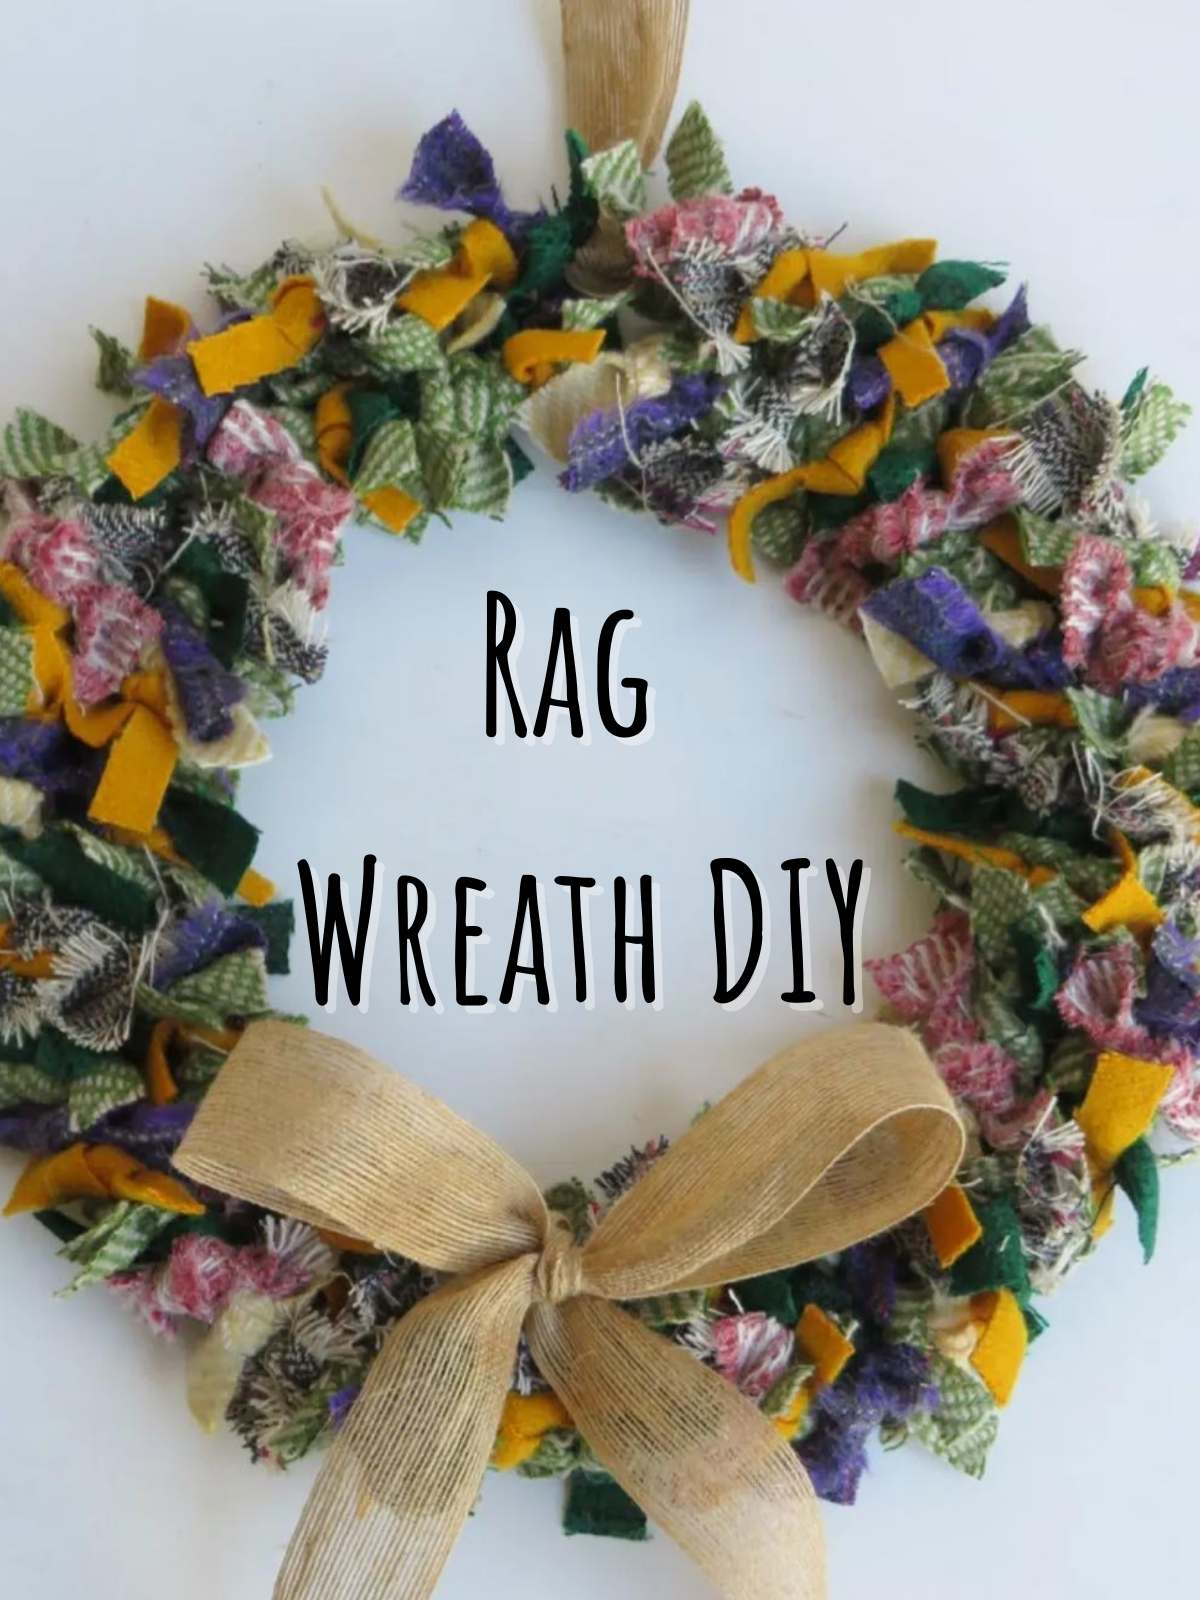
Rag Wreath DIY
For this DIY, you are going to need a few things, so I have made a list for you to work from. If you don’t have everything you need at home, I urge you to try and find what you can at a thrift store. This way, the craft is as sustainable as possible. You’d be surprised by how much a thrift store actually has, and it’s much cheaper!
Supplies
- Wreath form
- Cute Rag Strips
- Scissors
Rag Wreath Ideas Step One: Cutting Your Rags
I know it says rag strips in the supplies section, but if you don’t have any premade strips, you can cut your rags into them strips yourself!
The size of these strips will be up to you and how big you want your wreath. You can key them smaller and have a fine little wreath, or you can make them bigger. I made mine 6 inches long and one inch across. This will give me a pretty medium-sized wreath.
Don’t worry about cutting your rags perfectly; they don’t all have to be the same exact size. But you should try to get around the same for each.
Step Two: Begin Tying
If you are using a metal wreath form, then you may begin tying. I recommend tying from the outside in. Tie your rags onto the form with a very secure knot. The last thing you want is for them to loosen over time. Go all the way around the outer layer of the metal form, and when that is done, continue on to the next row, and so on.
When you are done with the entire thing, you may take a step back to see if you want to add any more to specific areas that might be a little bare. You can also take this time to go back in, starting from the outer layer once more, to make your wreath extra full.
For this, I recommend adding rags that are longer than the first set since you will have to tie them over the other knots. Take your time; this is a long and time-consuming process, so put on a podcast or an audiobook to help you pass the time.
Rag Wreath Ideas Step Three: Fluff It
Lastly, you are going to want to fill your rags so that they are even and not smooshed together, which can happen when you are working on tying it. So take a moment to fluff it all back up so it looks as cute as can be.
Take a step back and admire your work. You have created a wonder rag wreath! I hope that you are proud and that you enjoyed this article. I know I had fun writing it. I love sharing my DIY adventures with all of you. I never know what I am going to make next, but I know it will be fun.
If you want to catch up on some of the other DIYs that I’ve done in the past, you can start here. I have so many different wreath ideas; they will make your head spin.
Wreaths can be for any time of the year, not just Christmas. I urge you to think out of the box when you enter your craft room. There is nothing more satisfying than creating something that you are proud of and displaying it in your home!