
Inside: Coolest Ikea play kitchen hack you need to try today.
Everyone knows that this generation of parents is extra in the best way possible. They go above and beyond to make their kids feel loved in different ways than any generation before. Don’t get me wrong, every generation held good parents, but with the birth of the internet came a whole new source to get new ideas on how to improve your kid’s life.
Today we are going to be talking about one of my favorite things that I have learned on the internet: the Ikea Play Kitchen Hack! I think play kitchens are wonderful.
They get your child thinking about cooking and begin building those patterns in their brain at an early age.
But those plastic kitchens look so…boring. Even your kid can feel that this is not a legit kitchen. So if you want to get your child a play kitchen that they love and that fits your house’s style, then keep reading because that is what I am going to show you.
Table of Contents
Ikea Play Kitchen Hack Inspiration
Before I jump headfirst into the DIY, I thought it would be beneficial to show you all of the cool directions that you can take this project in. You really get to make it your own! The sky is the limit, but here are some of my all-time favorite kitchens that have been hacked to look beautiful.
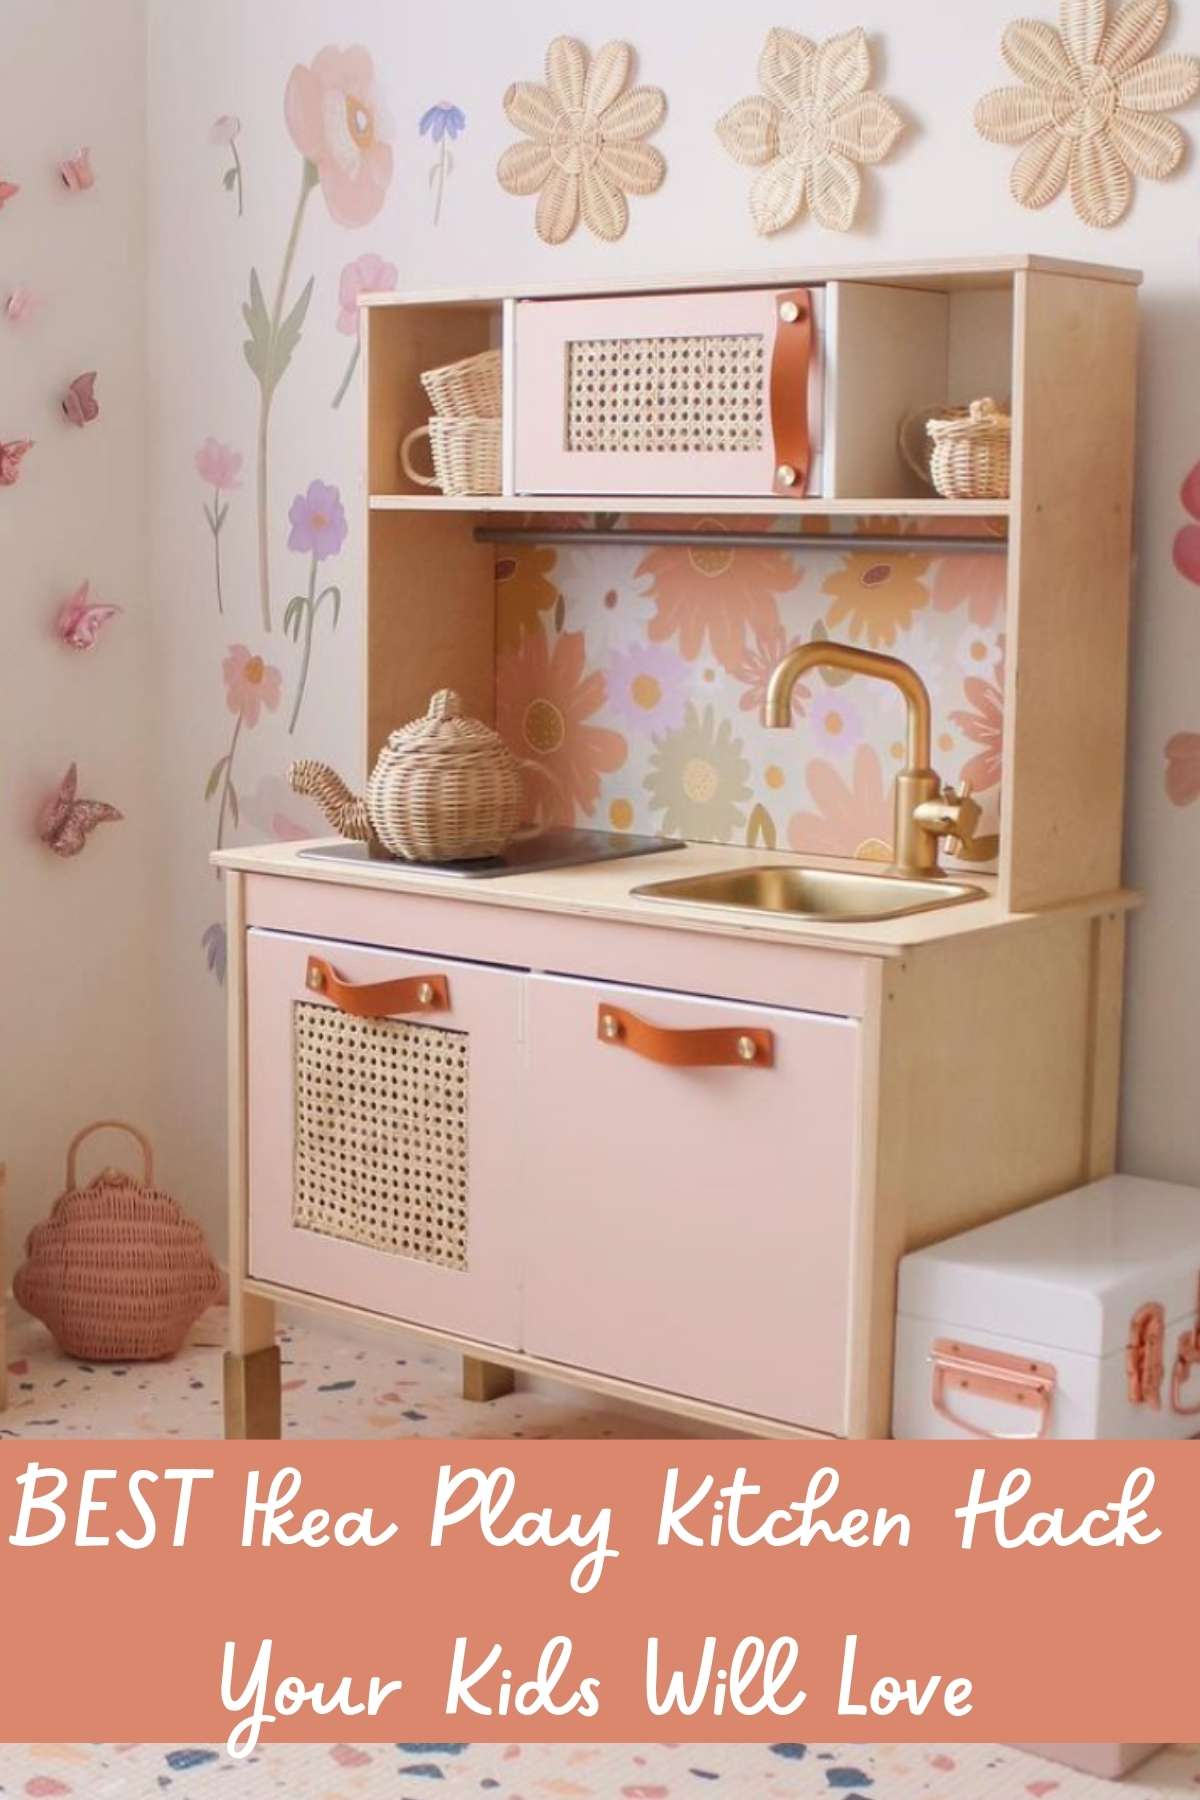
1. Pink Ikea Kitchen with Cute Accessories
3. Kitchen with Floral Wallpaper
8. Green Kitchen with Brick Backsplash
9. Pink Kitchen with Marble Counter
10. Floral Background with Wicker Accents
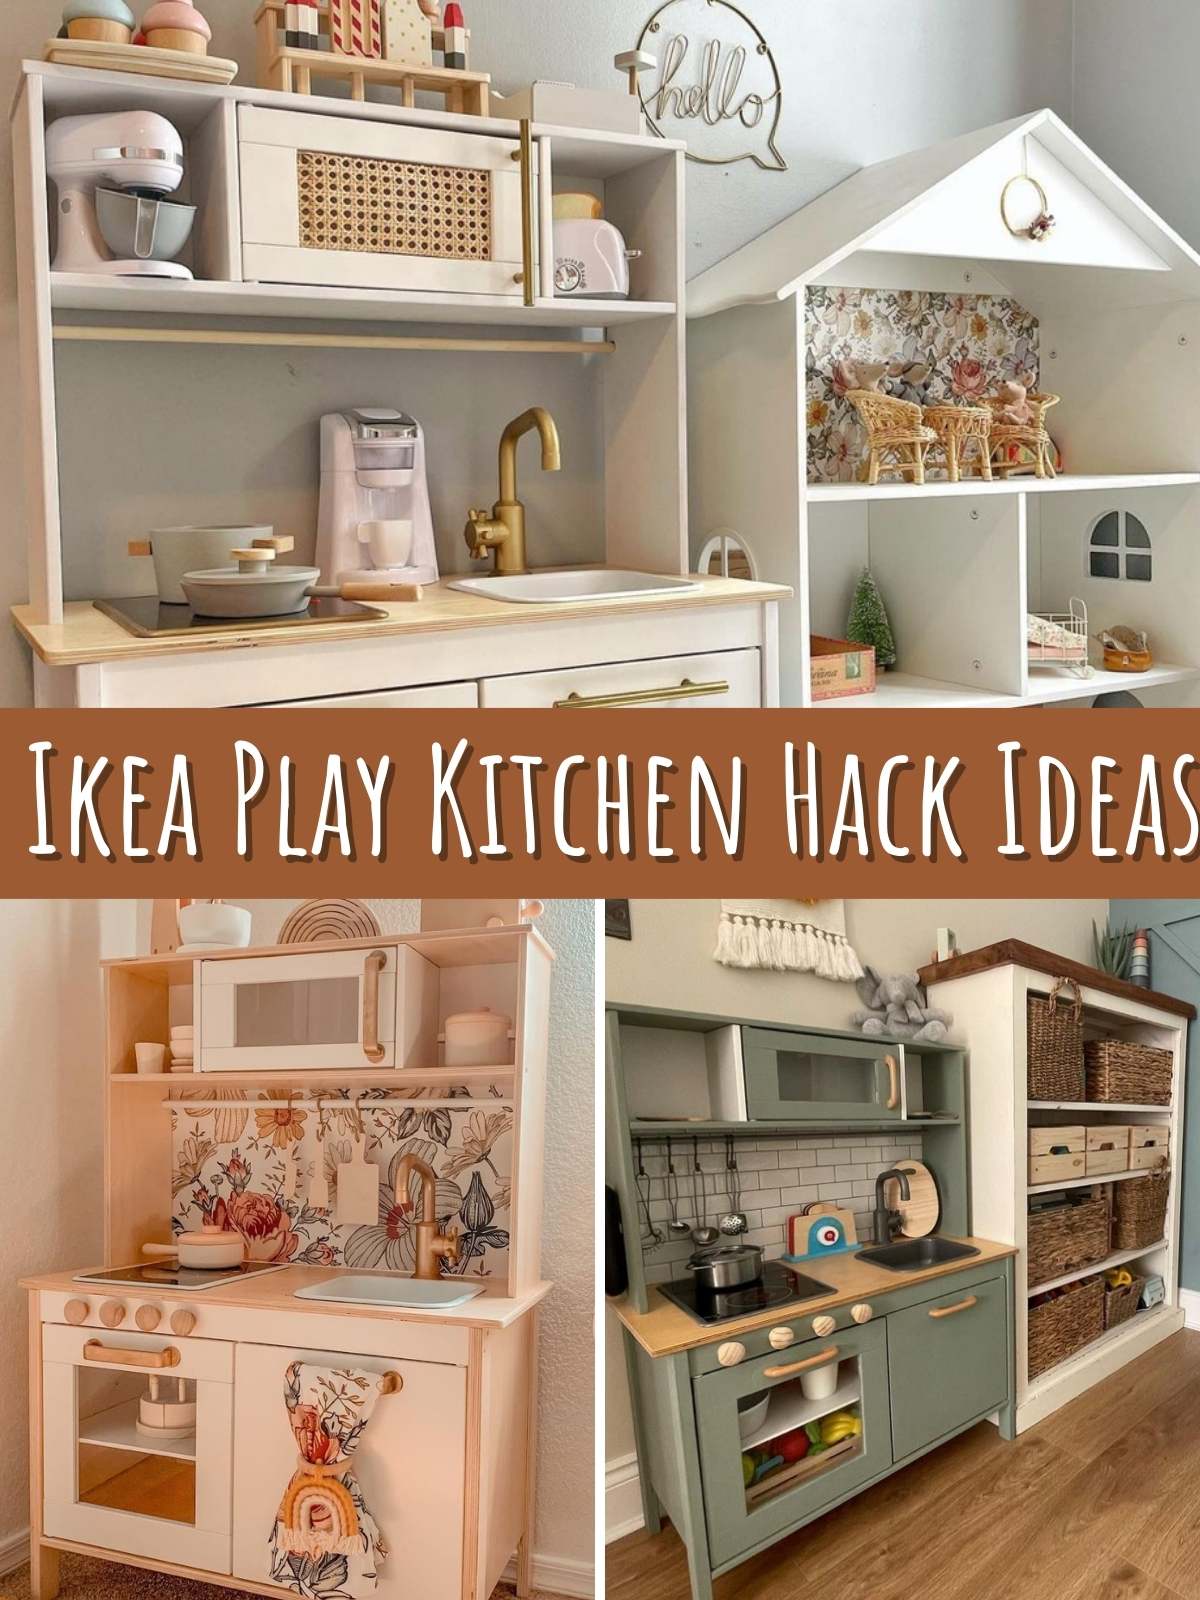
Ikea Play Kitchen Hack Ideas
Now it’s time to get into this DIY. Like I said before, there really is a million ways for your to upgrade this Ikea kitchen, so I cannot walk you through every single one of them. But what I can do is walk you through how I upgraded mine, step by step. I changed something about basically every area of this kitchen, so I know this will be helpful to you.
So I will walk you through how to change something, and you get to decide what you are going to swap it out with. Because of this, I am not going to do steps like I normally do: I am going to switch these out by section!
1. Backsplash – If you want to add some backsplash, all you have to do is get a cardboard backing and add some cute backsplash stickers to it. You can find some adorable ones anywhere from home depot to dollar tree(I know, crazy, right? They are really upping their game!). Then you lightly nail it to the back. Alternatively, you can glue it.
If you don’t want to use cardboard, you can use a thin and lightweight plyboard instead. And if you want to be even fancier, you can use real tile backsplash. Since it’s such a little space, it shouldn’t be too much money.
2. Oven Window – One of the easiest ways to upgrade this basic kitchen look is by upgrading the oven and the microwave windows. Obviously, these two things do not work, so there is no harm in it.
To do this, you are going to need to unscrew the oven and microwave doors and take them off. Then you are going to break the middle plastic out with a rubber mallet. You can use many things to replace them, such as wicker, wallpaper, you name it. Get creative with it! Nail or glue it in on the opposite side, so it looks clean on the outer level.
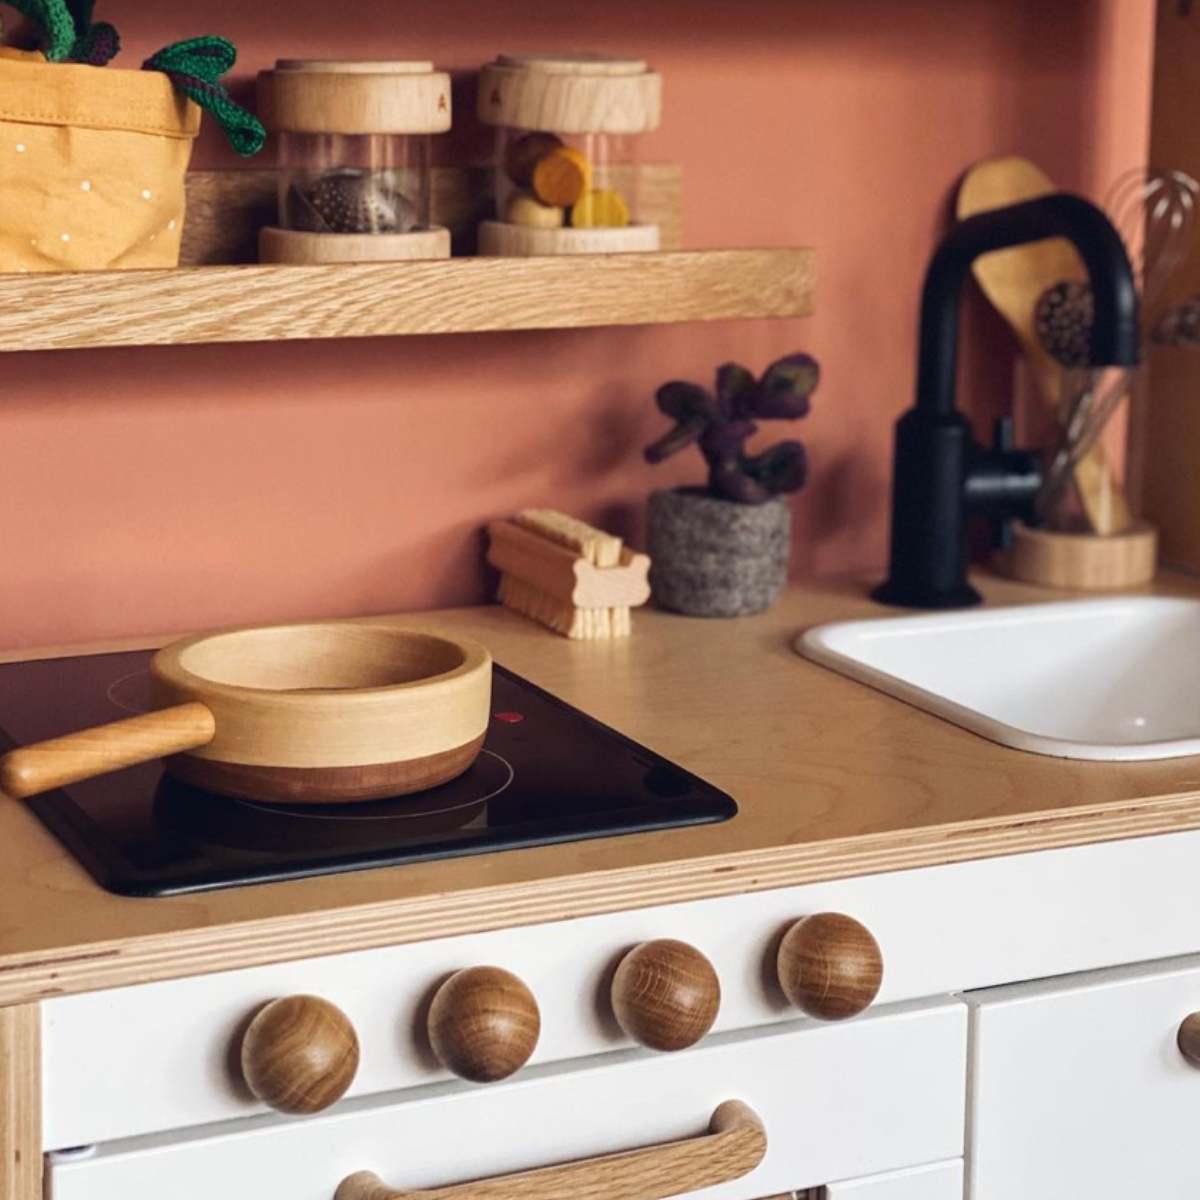
3. Faucet – Yep! You can even take off the faucet. You can take these off and spray paint them whatever color you like. I think it is so much fun when parents style their kid’s play kitchen to look like their own kitchen. It helps the child to feel more included like they have their own real little kitchen for themselves that reflects the one they know and love.
Make sure you are going with good quality spray paint that is non-toxic. They are pretty easy to find, and it’s one less thing you need to worry about. Get an even layer going all over the faucet and let it dry completely before you install it back in.
4. Cabinet Doors – I think cabinet doors are a wonderful opportunity to restyle your kitchen. I mean, your KID’S kitchen. I am getting a little carried away here. Unscrew your cabinet doors and take them off completely. Use a paint color of your choice to paint over the basic white that the Ikea Play Kitchen comes with. Let that dry completely before screwing them back on.
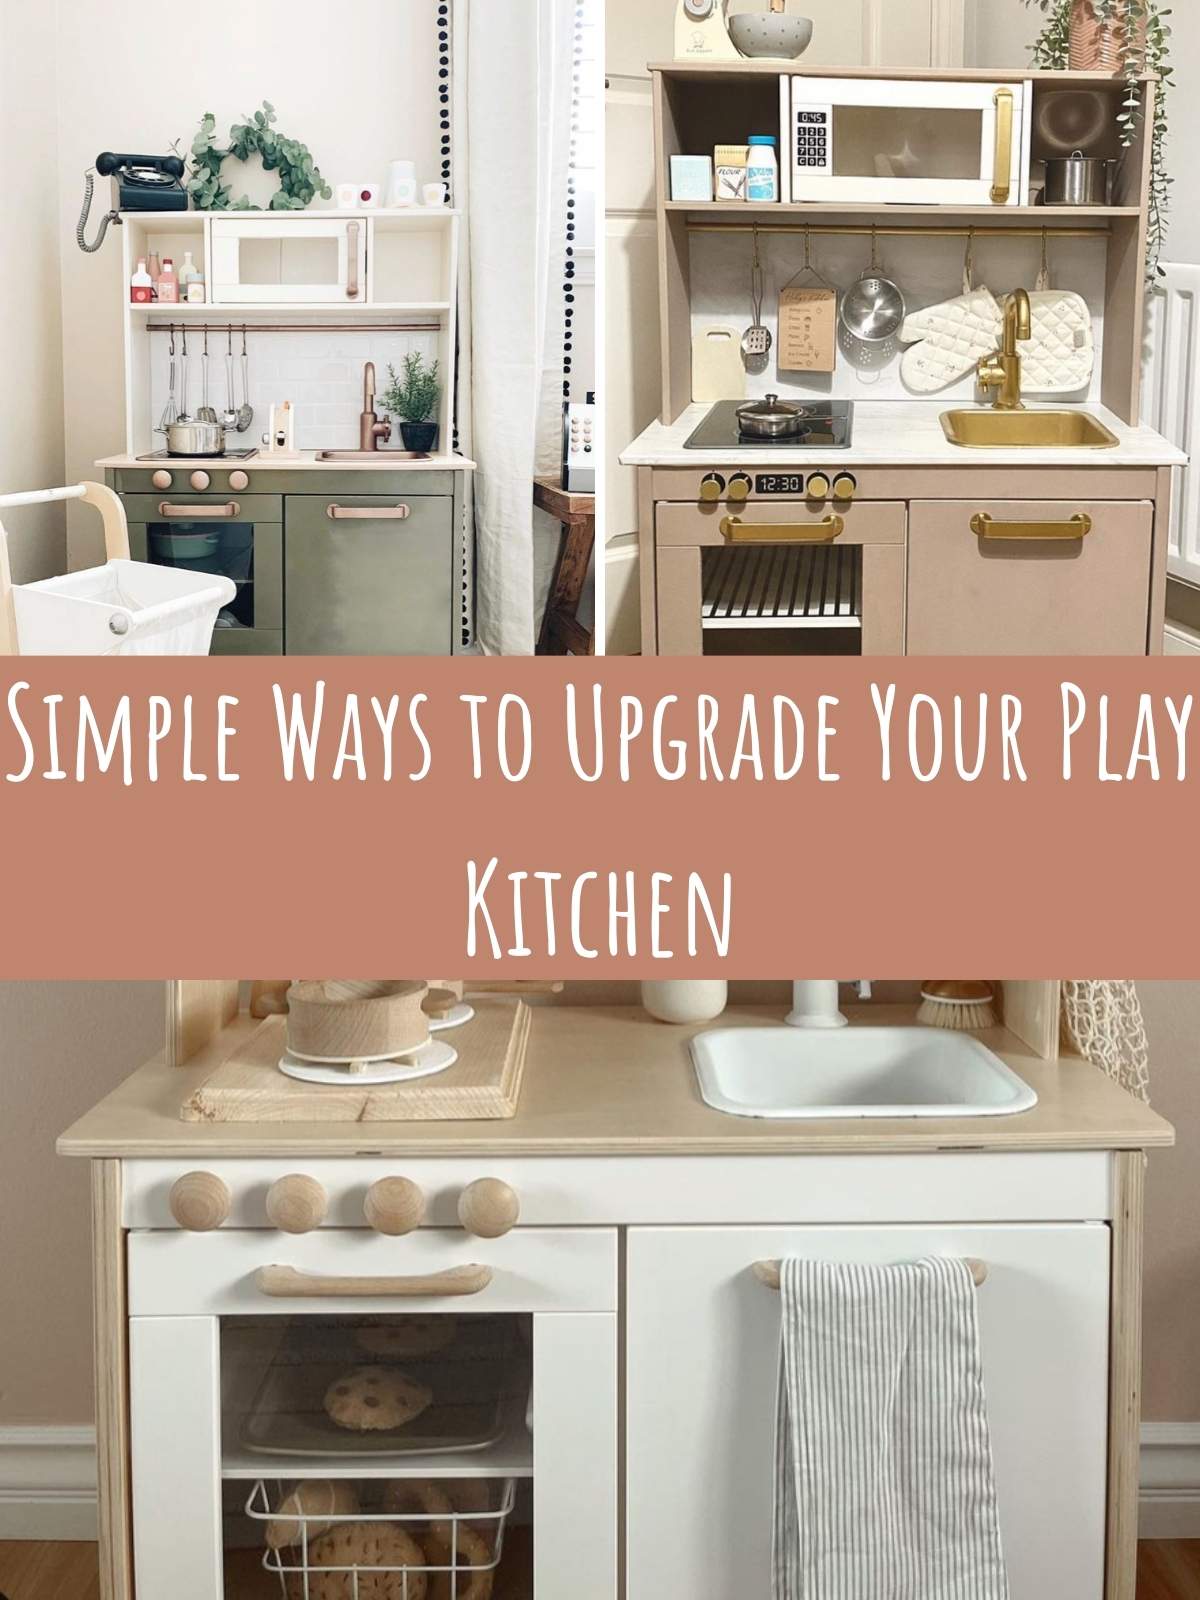
Simple Ways to Upgrade Your Play Kitchen
5. Cabinet Handles – You can get such good handles online that will completely transform this little space for your child. Just look on amazon, and you will find a whole slew of them to choose from.
If you like the style of the handles that came with the kitchen but wished to change the color, you simply take them off and paint them. I love the way gold or brass attachments look with kitchen appliances, so I recommend that!
6. Sink – You can take the sink out and paint it a different color, depending on what you like. You can also make this a functional sink if you want. You can do this by investing in a small faucet that will pump 5 gallons or less. It will come with tubes and instructions.
But to short version is you will have to drill holes into the bottom of your sink for drainage, choose a wide-mouthed jar or jug to catch the runoff water, and another jar to fill with clean water.
You will be able to follow the instructions on the little faucet to connect them properly. I recommend adding a child safety latch to the bottom of that cabinet, so they don’t mess with this contraption!
7. Oven Nobs – You can add fake oven nobs by gluing little ones onto the top of the oven. You can position them however you want, but I love the way it looks when they are in the middle.
8. CounterTop – You can take the counters off and apply fake countertop sticker vinyl that can look like anything you want. I used marble to match my countertop in my kitchen, but it is up to you!
What did I tell you? There are so many different ways to make this Ikea kitchen into something that not only your child will love but that you will too! After all, it will be in your house, so why not make it match the rest of the decor? It is a kitchen; after all, it should be treated as such.
I think these hacks are too much fun. If you are a fellow DIY person, I think you would love some of my other tutorials. These will walk you through how to make a wreath for any occasion!
There are so many ways for you to show off your skills, but DIYing is probably my favorite. There is just so much possibility! I hope you enjoyed this one, until next time.