
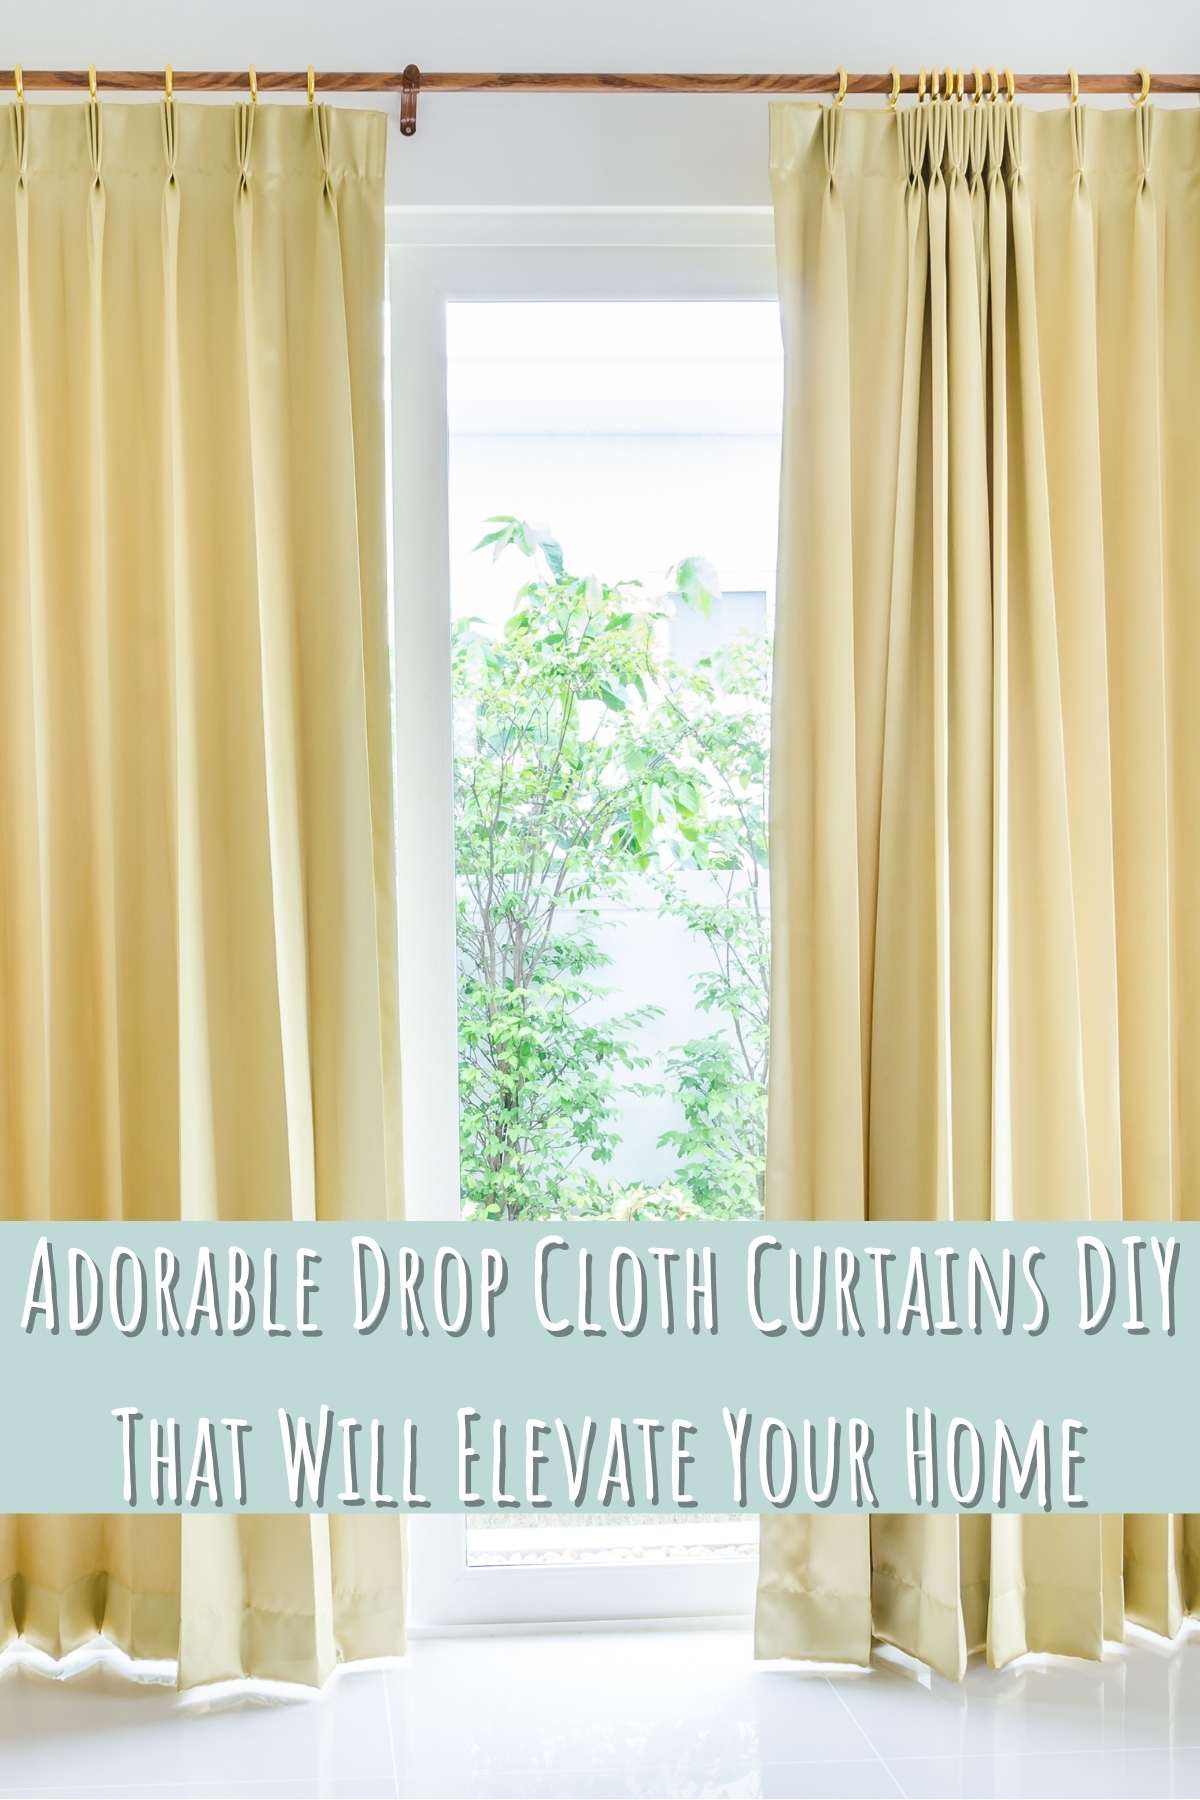
Inside: How to create chic drop cloth curtains that will make your living room look chic.
Are you looking for an easy, quick and light-weight way to instantly upgrade your home décor? Drop cloth curtains are the perfect solution!
Whether you’re a DIY newbie or design professional, these curtains are guaranteed to take your space to the next level. Whether it’s subtle, contemporary style or a bold pop of color that’s needed in order to add texture, drop cloths offer unique customization options with minimal effort.
Today I am going to cover all the basics of how to get started with customizing drop cloth curtains, plus inspiration on how they can be used in conjunction with other decor elements so that you can achieve any desired look. So keep reading to find out more about why drop cloths should be at top of your shopping list when transforming any room into something truly special!
This will be a step-by-step process, so follow along.
Table of Contents
What Is A Drop Cloth Curtain?
I figure this would be a great place to start. According to Thistlewood.com, “Drop cloth fabric is otherwise known as fabric used as painter’s drop cloths. Known for its durability and thick canvas material, drop cloths have been used by painters for years. The fabric is ideal for making soft goods for the home, such as curtains, pillows, slipcovers and throws”
There you have it, super simple! I haven’t been this excited about a home decor craft since my arch wall decor ideas! Are you ready to get started?
Step #1: Pick The Right Fabric For Your Drop Cloth Curtains
When it comes to drop cloth curtains, you’ll want to make sure that you are choosing the right fabric for your project. Not only should it be aesthetically pleasing and beautiful, but it should also be durable enough to last you through the years.
This means taking into consideration the thickness and weight of the material, as well as the weave. Will it stand up against flaking and stretching over time?
Substantial and tightly-woven fabrics such as cotton canvas, duck fabric, corduroy, jute or even nubby twill will give your project a complete look that is both rich in appearance as well as resilient.
With so many different options out there, it can be overwhelming. But when you find the right one, you’ll be able to relax and let your worry-free curtains bring harmony to your space.
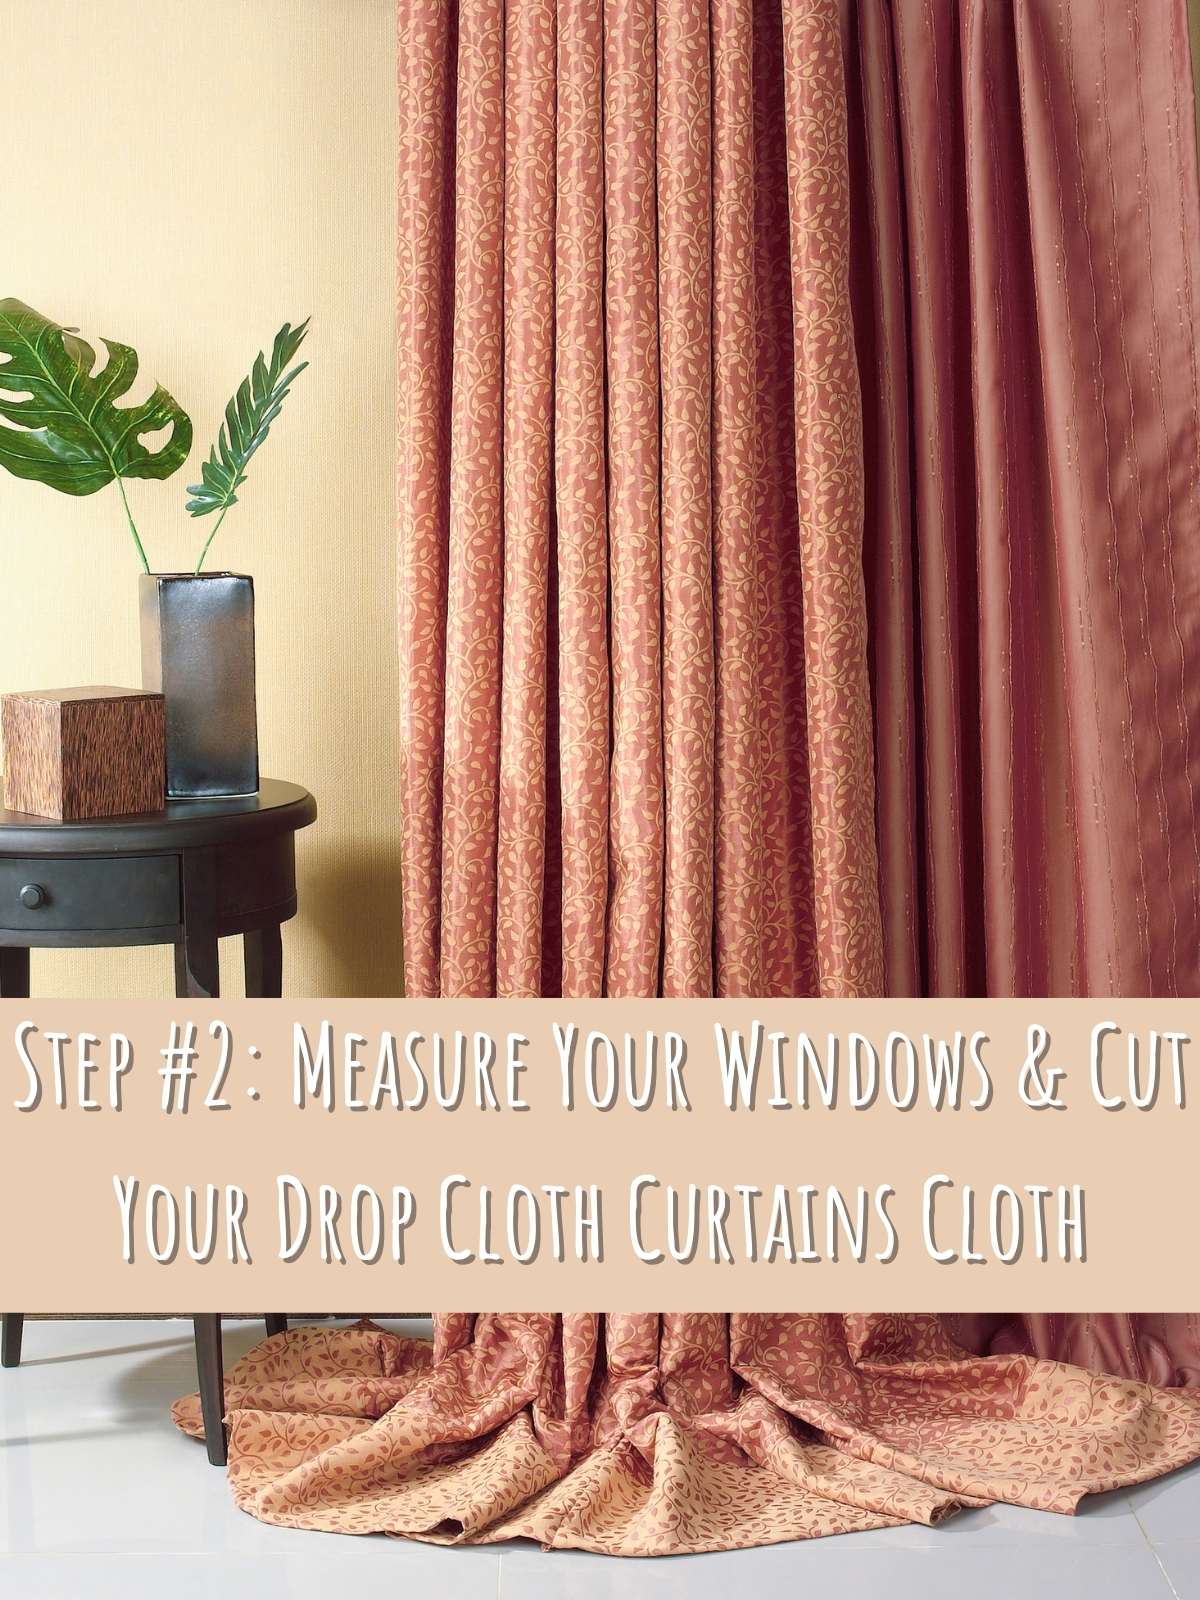
Step #2: Measure Your Windows & Cut Your Drop Cloth Curtains Cloth
Creating drop cloth curtains for your windows can be an easy and budget-friendly way to refresh the look in a room. I actually had so much fun creating mine, I think you will too.
Now that you have your fabric, you can start by measuring your windows so that you know what size of drop cloth you need to buy; sizes usually range from nine to 15 feet long and five feet wide.
Once you have the correct measurements, cut the fabric accordingly. Now that you have the correct size and shape for your new curtains, get ready to transform your space! With a small bit of effort, you will be able to bring a large change without breaking the bank.
Step #3: Attach Curtain Grommets or Hooks to the Top of the Drop Cloth Curtain
Attaching grommets or hooks to the top of a drop cloth curtain is a relatively easy thing to do. All in all it probably took me about 30 minutes. If these curtains are for your bedroom, you should look at some of my other ikea bedroom ideas too!
First, you are going to want to determine the desired number of openings for attaching hooks; it is usually best to have several along each side that are evenly spaced. Next, measure and mark the fabric where you want the grommets placed.
Overall, make sure to leave around 4” in between each placement. That’s what I did. Once marked, position the grommet fasteners and attach them firmly by gently hammering both pieces together.
Finally, add finishing touches, such as decorative ribbons or tassels. With a few simple steps, you’ll soon be able to proudly display your homemade drop cloth curtain, complete with functional and stylish grommet or hook attachments! I felt so accomplished when I was finished.
Step #4: Calculate Your Hem Allowance
Calculating an appropriate hem allowance for the bottom of drapes is the key to success for a professional-looking finished product! The most common amount for hem allowance is 4-5 inches, although you should take into account factors such as the fabric weight and fullness desired when making your decision.
If you’re unsure how much to allow for your drop cloth curtains, practice on scrap fabric or do some research about what would work best for your project. Don’t forget, if in doubt; it’s always better to err on the side of caution; you can always cut off more if needed, but you cannot add fabric back once it has been cut!
I am not going to lie; I really messed up my first batch of curtains this way. They reminded me of high waters when I was done with them. I had to toss them and start over, learn from my mistake!
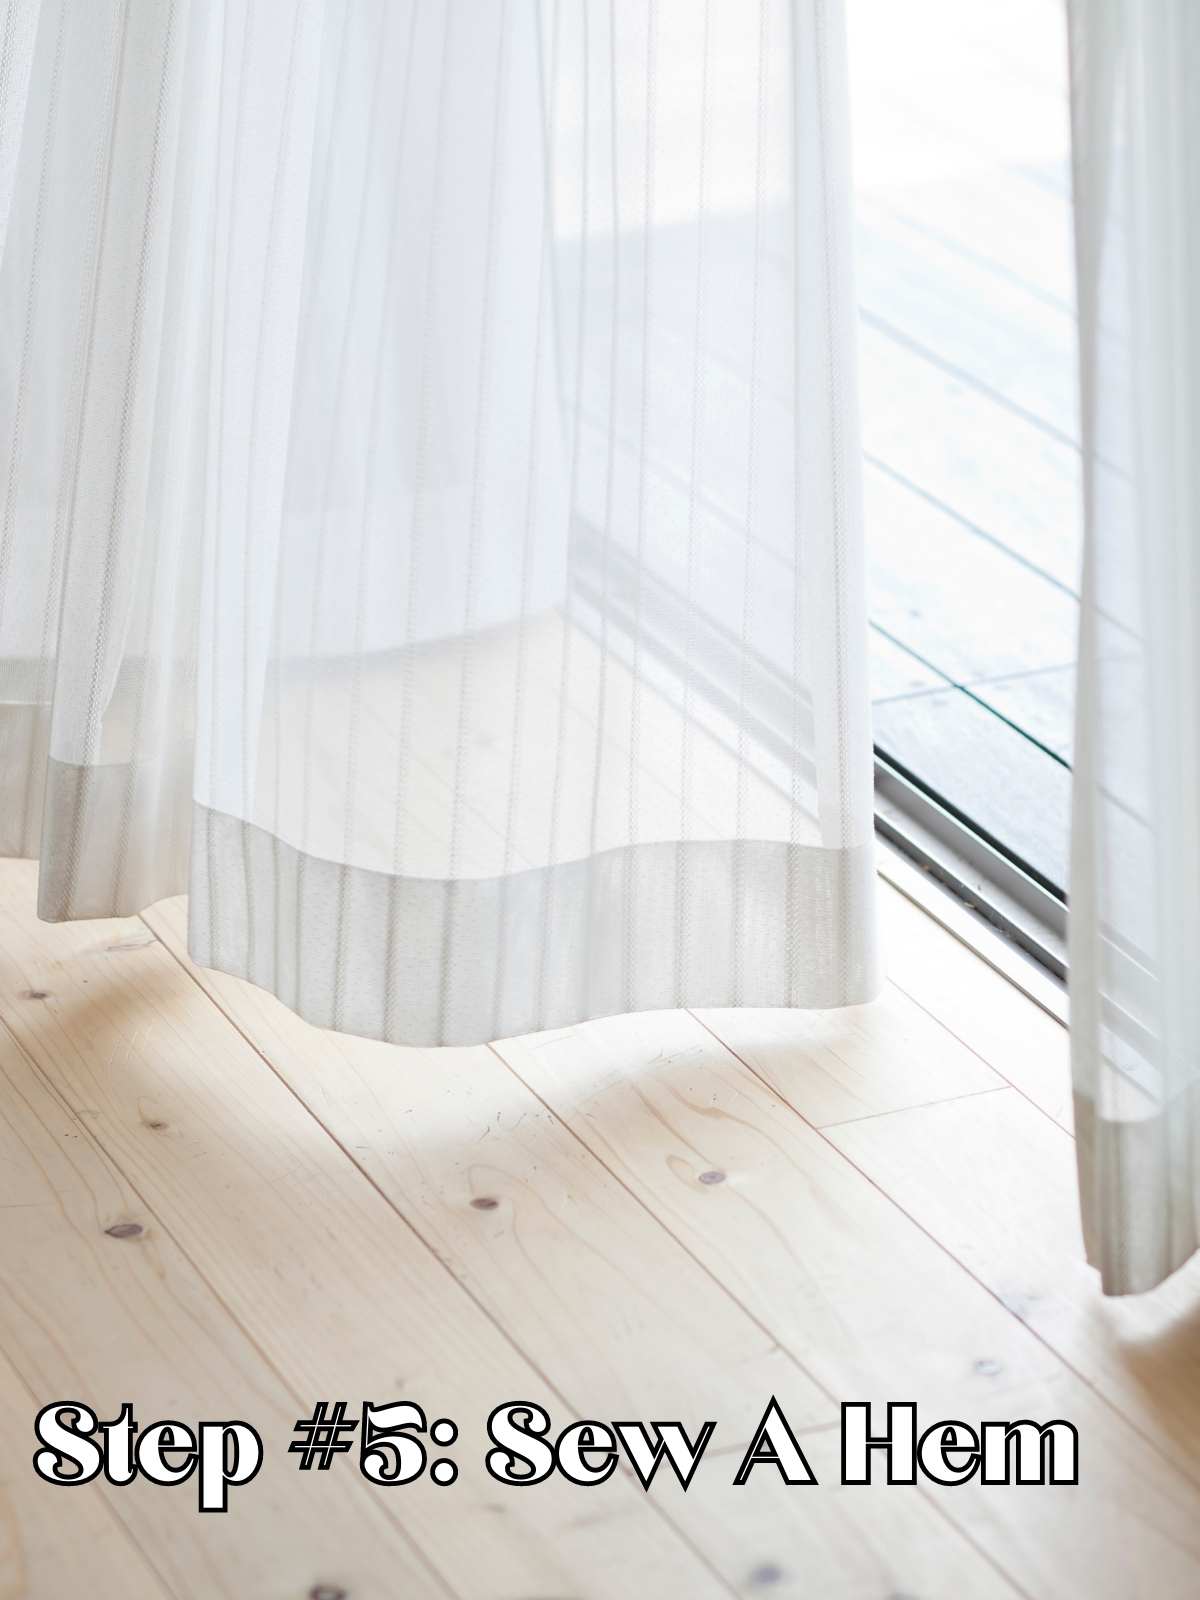
Step #5: Sew A Hem
Creating a nice, neat hem on your drop cloth curtains doesn’t have to be a difficult task. Taking the time to sew one gives them a more finished look and adds to their lifespan by keeping the raw edge of the material from unraveling.
This step is optional, but I have cats so leaving them open wasn’t really a choice for me. But when I saw how cute they were at the end, I was happy with the work.
Using either a simple straight stitch or blind hem stitch will make all the difference in the world, and with the right supplies and know-how, it can be done even with minimal sewing experience. So why not go ahead and create a tidy hem at the bottom of each drape today? You’ll love how much more professional they look!
There are tons of sewing tutorials out there, check this one out.
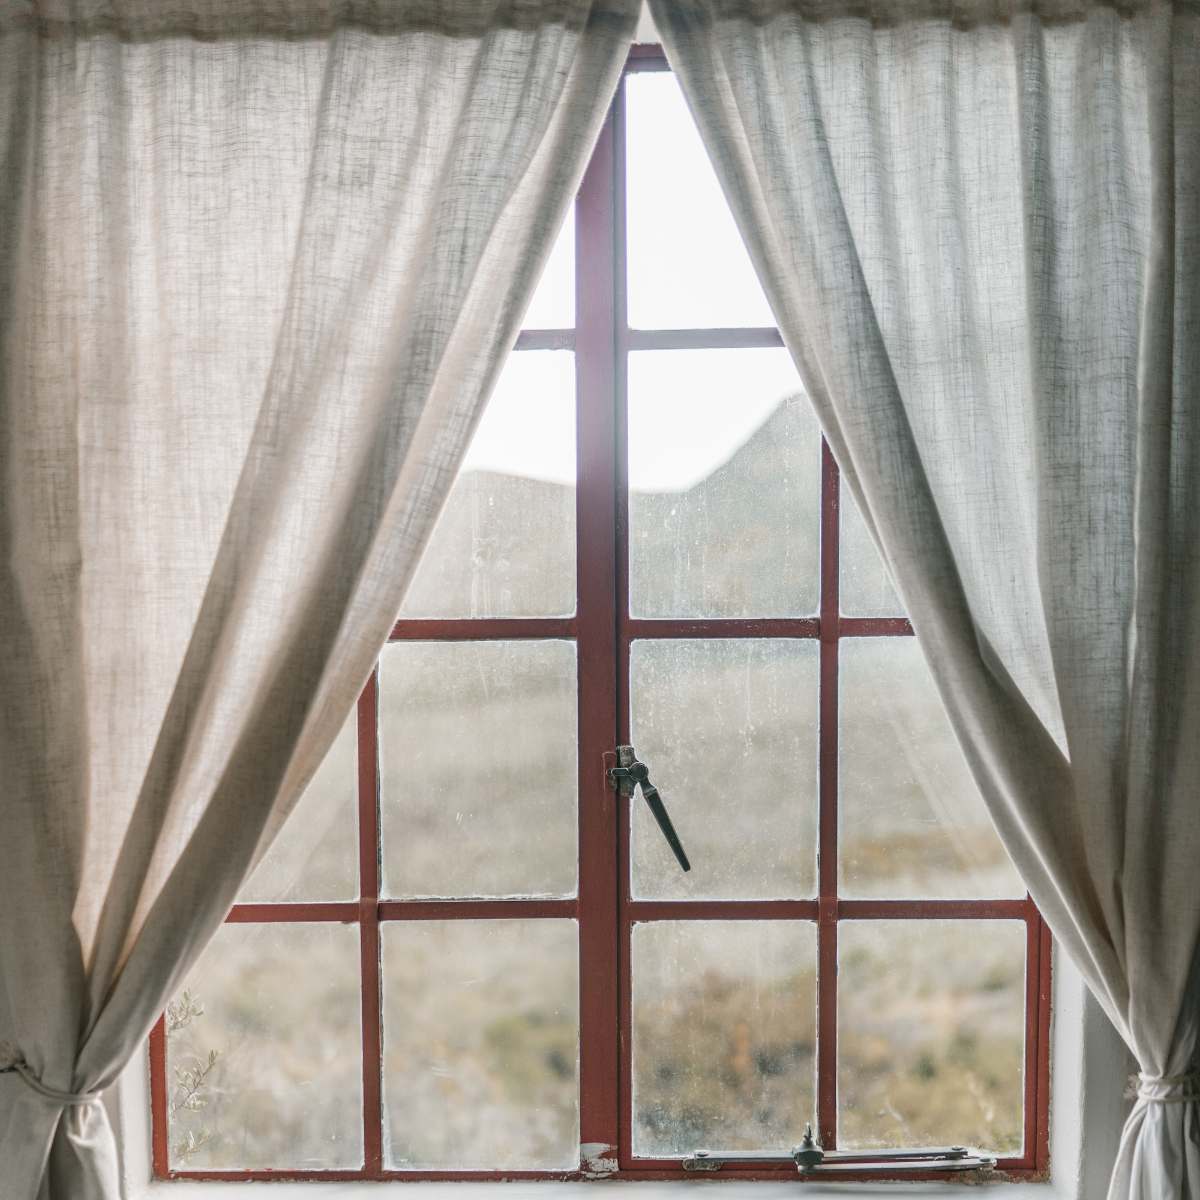
Step #6: Hang Your Curtain On the Rod
Now here is the exciting part, you get to hang them! You are so close to being done.
Hanging drop cloth curtains is the obvious last step to this tutorial. These drop curtains are a great way to bring the perfect combination of privacy, style and sophistication to any space in your home, so I bet you can’t wait to get them up! Installing the curtains onto a tension rod or curtain rod is easy and will instantly transform your space with a contemporary flair.
Not only does this create an attractive look for the room but also ensures that the curtains hang properly and last longer. With some simple supplies and tools, you can easily complete this job quickly to create a fashionable and inviting atmosphere in your home.
I am just going to assume that you either already have your curtain rod hung and waiting for you to hang your new curtains on it, or that you will follow the instructions that have come on the curtain rod you have chosen. Either way, hang your new drop cloth curtains, take a step back and marvel at your work.
In conclusion, creating your own custom drop cloth curtains is not only easy but also satisfying. Not to mention, it’s far more economical than purchasing ready-made curtains. Finding the right fabric and size is important, but don’t forget to measure twice!
With these tips in mind and lots of practice, you’ll soon be able to make professional-grade custom drop cloth curtains for yourself or any of your friends. I know mine were excited to learn that I could help them with their DIY curtains!
I hope you loved this tutorial and that you were able to follow along with my steps. I am super passionate about renovating my home in cute and affordable ways, so if you relate to that you should check out my ikea coffee table hack that will save you hundreds.