
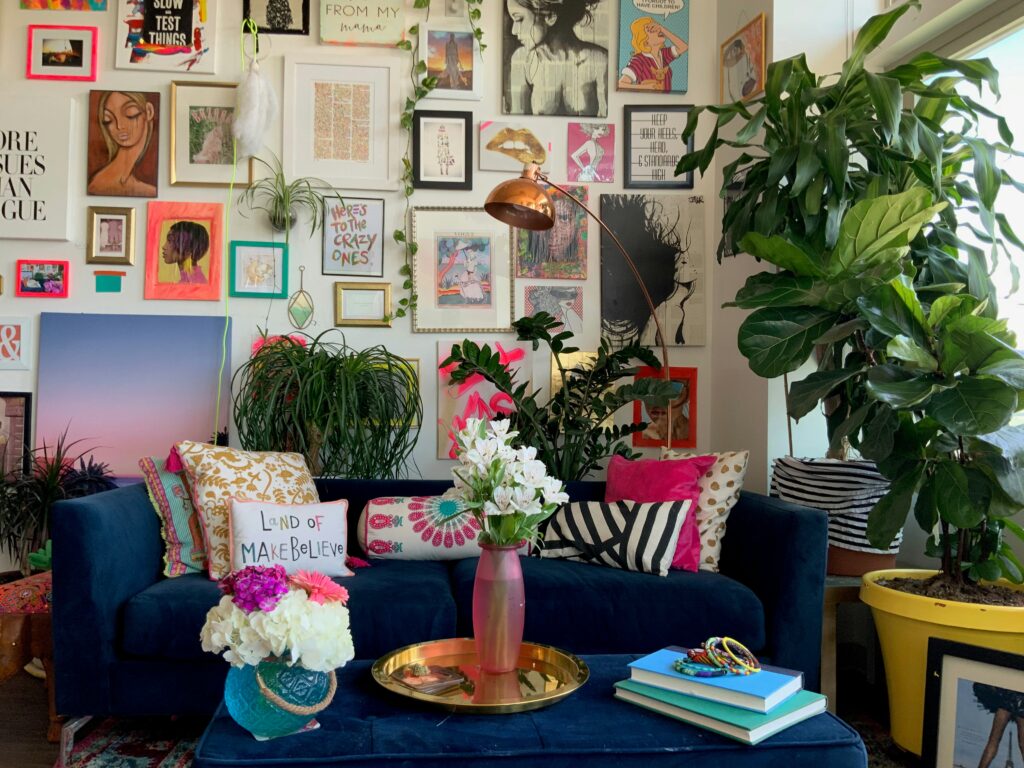
Gallery walls are iconic home decor features. These walls are designed to draw the eye, add personality, and generally tie your rooms together. They’re chic, bohemian, and artsy all in one go, and you needn’t reach for a single brick or paintbrush to build a gallery wall that you can be proud of.
But that doesn’t mean gallery walls are an easy decor solution. In truth, a rushed gallery wall will never quite look the part, and could see you pulling your hair out. You might not even be able to fit all of your pictures into the space if you don’t approach with care.
But what exactly does it take to build a gorgeous gallery wall? Keep on reading to discover the best secrets for success.
# 1 – Variety is the Spice of the Gallery Wall
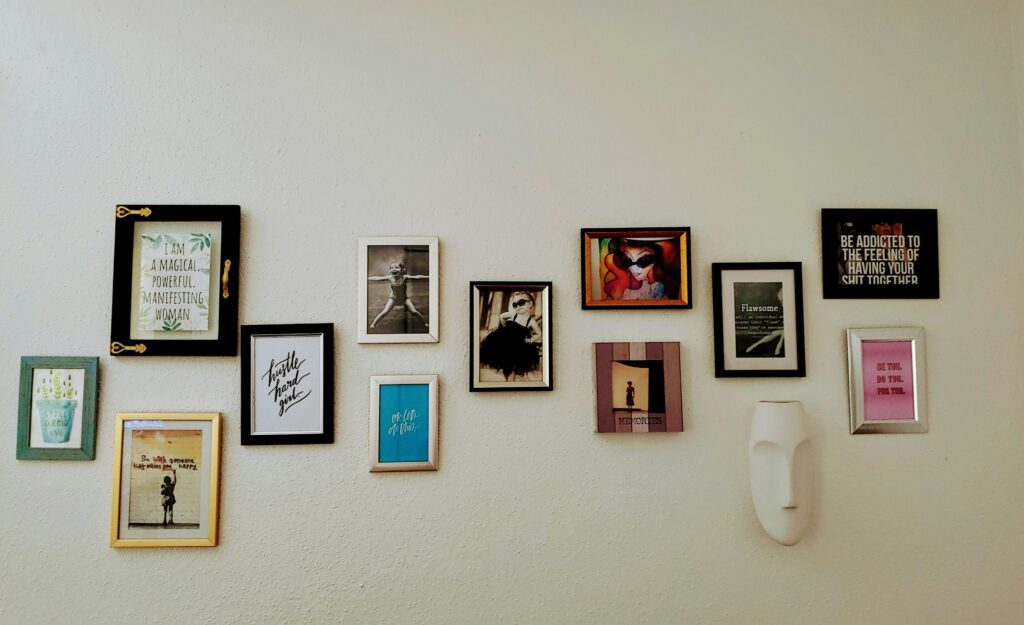
It’s easy to lean towards similar prints when building your gallery, but remember that a gallery wall should be visually interesting. That’s not going to happen if you’ve got multiple repeats of a
The absolute best tip we can give you is to prioritize variety in the pictures you choose. Multi-media mixes of everything from personal photographs to your favorite fine art prints, and even some hand-painted pictures for good measure, are all going to help each other to sing. You might also want to include art from different time periods to create a time capsule-style gallery.
Think, too, about variety within the sizes of your gallery wall pictures. The best gallery walls should incorporate small and large prints, as well as a mix of horizontal and diagonal prints to keep things interesting.
# 2 – But Consistency is Key in Your Color Scheme
Variety might matter, but you do need to tie those pieces together somehow. Your color scheme provides the best way to do that. This doesn’t mean you should stick with pieces in entirely the same shades, which would end up being a little one-note, but it does highlight the need for a clear color palette.
For instance, working with contrasting colors across your prints can be interesting, or you could stick with a pastel palette or more earthy tones. Equally, bold, bright colors can work together nicely.
As well as thinking about how your print colors work together, remember to tie at least some element of your gallery wall colors with the rest of your room to maintain visual harmony.
# 3 – Add Unexpected Elements
It’s easy to assume that you can stick solely with framed prints and photographs within your gallery wall, and you can definitely make that work. But some of the best gallery walls also incorporate unexpected elements for additional texture and interest.
Incorporating mirrors into your wall can be a great way to achieve this, as they add texture, light, and a useful focal point. Other unexpected additions could include decorative plates, textiles, or hangings, such as macrame. Make sure your additions match the overall style of your room and gallery wall, and carefully consider their positioning for maximum impact.
# 4 – Work Around a Tether
It’s also important to note that gallery walls shouldn’t be random. You want to position everything carefully to ensure harmony and impact, and providing yourself with some sort of tether is the best way to do that.
Most often, gallery wall positions tend to depend on one large piece, which should ideally be placed in the corner or on one side of your gallery wall. This can help provide perspective and highlight clear spaces for your other pieces.
Additional elements can also make for quite interesting tethers. For instance, you could build your gallery wall around a focal mirror. This will ensure you think more carefully about variety and texture as you grow your gallery wall.
# 5 – Always Build Your Wall Before Starting
You might assume you can simply hang your prints as you acquire them, but this is no way to build a cohesive gallery wall. Instead, effective gallery wall design requires you to have carefully planned the finer details. And you can’t do that until you have every print and additional element that you intend to include.
Only then can you finally begin building a gallery wall you’re sure to love, either by laying these pictures out on a flat surface or by cutting out the right shapes and moving them around on the wall in question until everything clicks into place.